How to create QR codes with Stable Diffusion
Create decorative, professional and 100% functional QR codes using Stable Diffusion and ControlNet.
Introduction
A little over a month ago, a Reddit user toyed with the idea of generating QR codes with Stable Diffusion using ControlNet. This technique was intended to condition the image generation in such a way that Stable Diffusion generates a creative and attractive image while ControlNet takes care of keeping the structure as intact as possible to maintain the readability of the QR code. Definitely a great idea.
Within hours, new methods and ways to generate QR codes with Stable Diffusion began to be published. Most of the results are amazing but in my opinion there are 2 major problems.
The first problem is that the generated images are so stunning that they don't even look like QR codes anymore. When we see a barcode on a bag of almonds or a QR code on a restaurant table, we immediately know what they are for and what to do with them. When seeing these images we won't have that familiarity.


Secondly, and even more important, is the fact that most of these QR codes are not scannable. You launch the camera app, point at the code and nothing happens. The image has been altered so much that there is no longer any information encoded in the form of a QR code.
In this article we will see a simple method to alter the QR code with Stable Diffusion and ControlNet. We will then use a script to filter images that are fully compatibility and work with all QR code scanning apps.
The result is images like these:
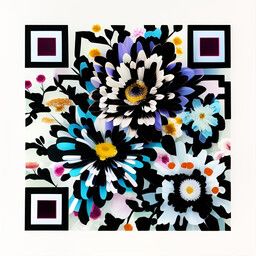

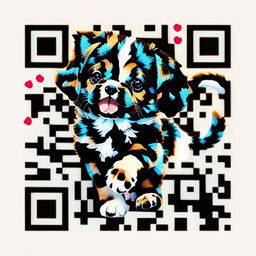
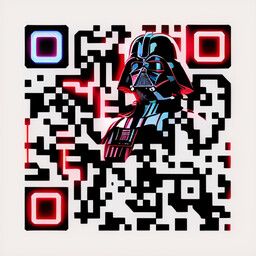
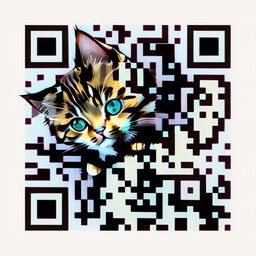
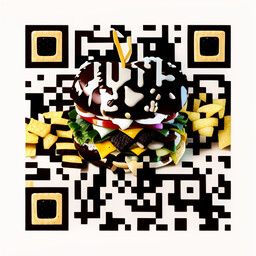
You'll find more examples below!
QR code technical details
The QR code was created in 1994 by the Japanese company Denso Wave. Their work became so popular and useful that it became internationally standardized under the ISO/IEC 18004 standard. This standard sets out the technical specifications and requirements for the creation and reading of these codes.
The specification is used by individuals and companies to implement all these details and to invent software libraries capable of creating, reading and interpreting these codes. Not all implementations are the same, hence some of these codes can only be read by certain QR code reading applications. Therefore, it does not make sense that in order to read it you have to download a new application. The main advantage of QR codes is compatibility.
Avoiding data corruption
QR codes have an important feature called error correction.
Imagine a package that crosses the world to reach its destination. It is quite likely that this QR code pasted on the side can be damaged or altered. For this reason when the code is created the information is encoded redundantly. That is, data is duplicated so that if one part of the code is damaged, the information is still encoded elsewhere and can be read.
There are 4 levels of error correction: L, M, Q and H. These levels tolerate errors up to 7%, 15%, 25% and 30%, respectively.
When we create a QR code with Stable Diffusion what we are doing is simply destroying part of the original code to replace it with visually appealing elements. Therefore, it is imperative to use an error correction of 30% (level H) and not to exceed the limit or the code will not be readable and will lose all its purpose.
QR code creation
The first thing is to generate a QR code with the information we want to encode. You can use one of the many websites that offer this service, but here you have the possibility to create it without leaving this article.
Keep in mind that the longer the length of the text or URL, the more data will have to be encoded in the image. This will cause the QR code to contain more black parts and when Stable Diffusion destroys an area, it will destroy more data so the QR code may not be readable. Notice how the QR code changes as the number of characters increases.
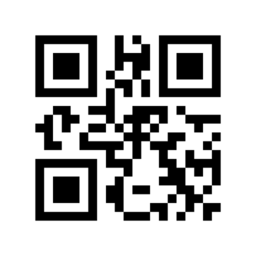
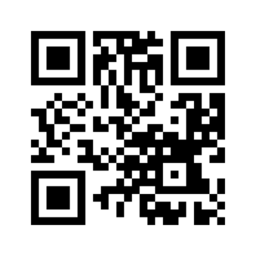
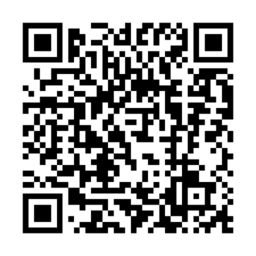
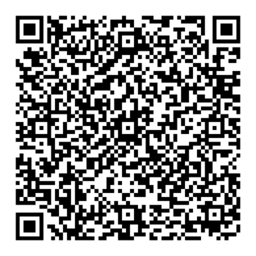
If you are going to enter a very long URL I recommend that you shorten it using services such as bit.ly.
The QR codes generated here are created with a level H error correction. You can modify some parameters although I recommend you leave them as they are by default.
QR code modification
At this point I assume you have ControlNet installed. if not, do this step first.
Installing the model
Many articles use two units of ControlNet: one unit with the control_v11f1e_sd15_tile model and another unit with the control_v1p_sd15_brightness model. This configuration gives impressive results but the scanning usually does not work and the codes no longer look like codes.
In this case we are going to use a single unit of ControlNet loaded with the control_v1p_sd15_qrcode model.
Download this model (.safetensors file) and its configuration (.yaml file with the same name) from the following HuggingFace repository: https://huggingface.co/DionTimmer/controlnet_qrcode.
Put these two files in the models/ControlNet/ folder that you will find inside the directory where you have Automatic1111 installed.
automatic1111
models
ControlNet
- control_v1p_sd15_qrcode.safetensors
- control_v1p_sd15_qrcode.yaml
Many thanks to Dion Timmer for creating this fantastic model.
If you want to use a Stable Diffusion 2.1 model you can download control_v11p_sd21_qrcode instead of version 1.5.
Configuration parameters
With the original QR code and the ControlNet model installed correctly, we proceed to start Automatic1111 and access the img2img tab.
screenshot with the configuration

The parameters we need to configure are:
- Checkpoint: To your liking. Recommendation:
dreamshaper_631BakedVae.safetensors. Remember to use a 1.5 model if you usecontrol_v1p_sd15_qrcodeor a 2.1 model if you usecontrol_v1p_sd21_qrcode. - Positive prompt: It does not need to be very long or specific as you will see in the examples below. Some prompts are more aggressive and destroy more parts of the code, so you will have to play with other values.
- Negative prompt: Same as the positive prompt, enter something basic like
ugly, disfigured, low quality, blurry, nsfw, watermark, text. - img2img tab: Select the image of the QR code that you have generated.
- Width / Height: The value you have selected when creating the QR code. A value of
512x512should be sufficient. - Denoising strength: This value is perhaps the most important. The optimal value is usually
0.58although if your prompt is destroying too much QR code you can lower it to0.55. If the QR code barely changes its design, you can raise it to0.65. Outside of those values you won't have much luck.
The rest of the parameters can be left by default. I have used the following:
- Sampling method:
Euler A. - Sampling steps:
30. - CFG Scale:
7.
As for the ControlNet configuration dropdown, you must configure unit 0 (the first one) as follows:
- Single Image: Select the original QR code image again.
- Enable:
True. Activate the unit or it will do nothing. - Pixel Perfect:
True. Enable this option. - Control Type:
All. Leave it as it is by default. - Preprocessor:
none. No need to preprocess the QR code. - Model: Select
control_v1p_sd15_qrcode. In my case I am using the model with hash:9c780d03, but this should not matter. - Control Weight: The default value of
1is fine. Between0.9and1.3there are also good results but it is only useful when you want to fine tune the result as much as possible. - Starting Control Step:
0. We let ControlNet condition the image from the beginning of the generation. - Ending Control Step:
0.9. This means that ControlNet will condition the result until the generation has reached 90%. The remaining 10% will give Stable Diffusion total freedom to refine the details as it pleases. If you see that your prompt is destroying too much information from the QR code you can adjust it up to1. This way ControlNet will try to preserve the QR code until the end. - Control Mode:
Balanced. - Resize Mode: Unnecessary if it is the same size. You can leave it at
Just Resize.
After this configuration we start the generation and we will get our QR code generated with Stable Diffusion.
Results
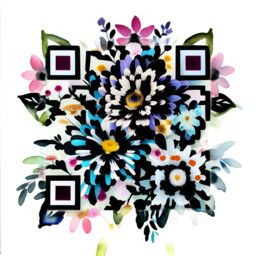
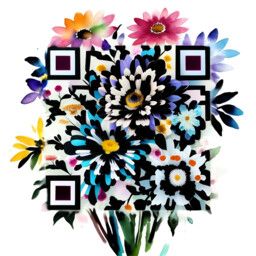
Here are a few examples of QR codes that I have generated for you to compare the results.
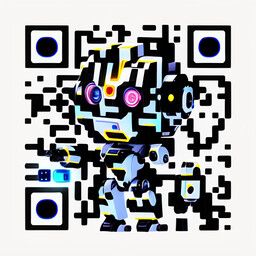
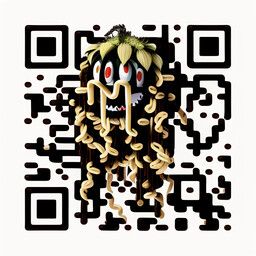
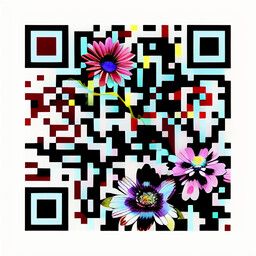
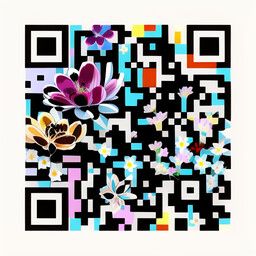
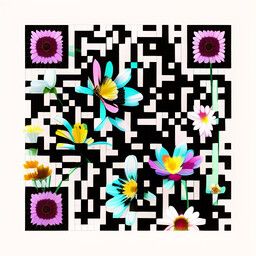
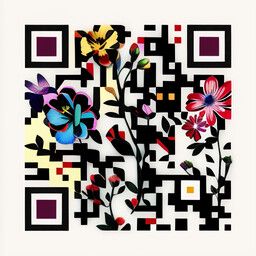
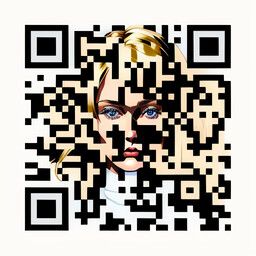
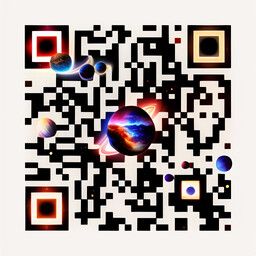
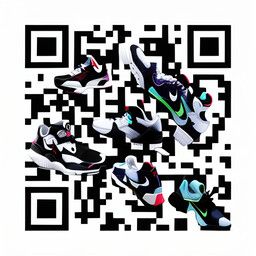
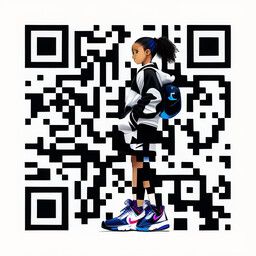
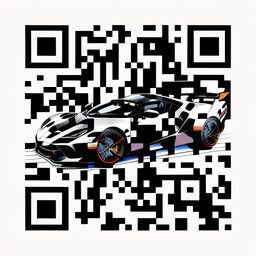
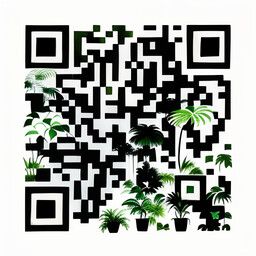
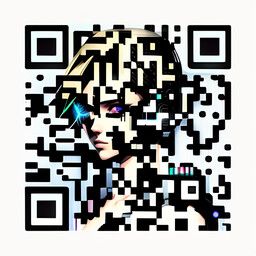
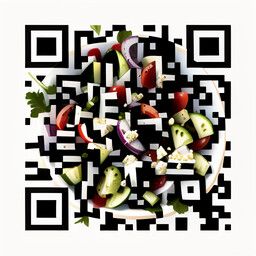
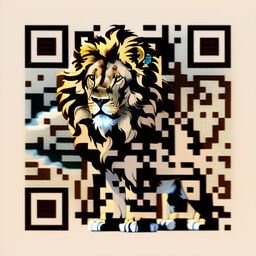
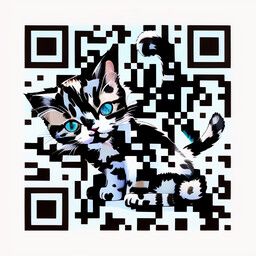
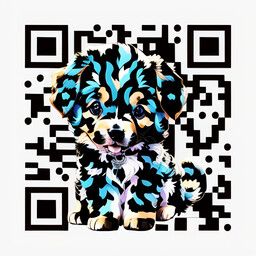
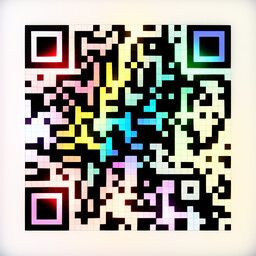
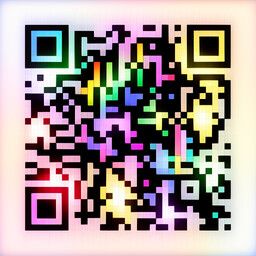
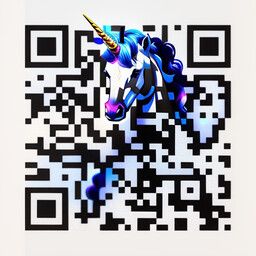
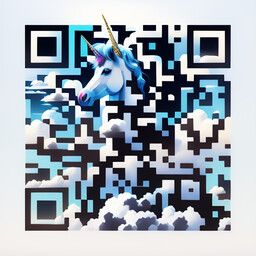
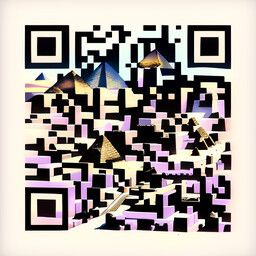
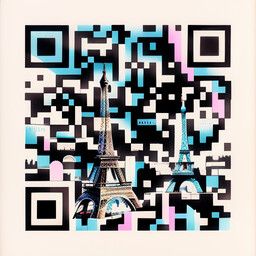
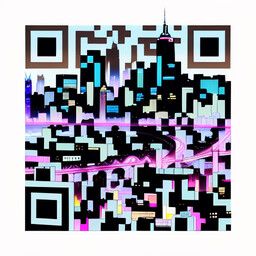
Remember that thanks to the outpainting technique you can further enhance the image so that the QR code is integrated into something larger.
QR code check
Many QR codes will work, some will not, and some will work only with certain applications.
I offer you two ways to check that the code works: one manual and one automatic.
Manual check
You can use the following tool to check the QR code from this article. It is not perfect but it is a quick way to check a QR code (sometimes a valid code can appear as invalid).
The QR code is checked in your browser. The image file is not uploaded to any server.
Automatic check
To improve the checking process here is a Python script that uses 3 different QR code reading libraries to filter the codes that are valid in all libraries at once.
This method is more reliable than the manual one since each code is checked 3 times, but more QR codes will also be discarded for not having full compatibility (it's what we're looking for, right?).
- Python
import os
import sys
import glob
import shutil
import cv2
from pyzbar import pyzbar
import zxing

if len(sys.argv) < 2 or not sys.argv[1]:
  print('Missing first argument (text or url)')
  print('Usage: python check.py "https://www.felixsanz.dev"')
  sys.exit()

def read_qr_code_with_cv2(file):
  try:
    detector = cv2.QRCodeDetector()
    img = cv2.imread(file)

    value = detector.detectAndDecode(img)[0]

    return value
  except:
    return

def read_qr_code_with_pyzbar(file):
  try:
    img = cv2.imread(file)

    value = pyzbar.decode(img)[0].data.decode()

    return value
  except:
    return

def read_qr_code_with_zxing(file):
  try:
    detector = zxing.BarCodeReader()
    value = detector.decode(file).parsed

    return value
  except:
    return

PASS = '\033[32m'
FAIL = '\033[31m'
RESET = '\033[0m'

text = sys.argv[1]

for file in glob.glob('./images/*.png'):
  cv2_code = read_qr_code_with_cv2(file)
  cv2_result = (cv2_code == text)
  cv2_color = PASS if cv2_result else FAIL

  pyzbar_code = read_qr_code_with_pyzbar(file)
  pyzbar_result = (pyzbar_code == text)
  pyzbar_color = PASS if pyzbar_result else FAIL

  zxing_code = read_qr_code_with_zxing(file)
  zxing_result = (zxing_code == text)
  zxing_color = PASS if zxing_result else FAIL

  print(f'[{cv2_color}cv2{RESET} {pyzbar_color}pyzbar{RESET} {zxing_color}zxing{RESET}] {file}')

  if (cv2_result and pyzbar_result and zxing_result):
    shutil.copy2(file, file.replace('/images/', '/valid/'))
This script works as follows:
- It takes care of reading the
.pngimages that are inside the./imagesfolder. - It checks the validity of the QR code using the
opencv-python,pyzbarandzxinglibraries. You must pass as first (and only) argument the text or URL with which you created the QR code, so that it can be verified that the result of the reading is the same. - If the QR code is valid in all 3 implementations, the script copies the image to the
./validfolder.
To install this script clone the repository https://github.com/felixsanz/felixsanz_dev, go to this article's folder, start a virtual environment and install the dependencies:
git clone https://github.com/felixsanz/felixsanz_dev
cd felixsanz_dev/articles/how-to-create-qr-codes-with-stable-diffusion

python -m venv .venv

source .venv/bin/activate # Unix
.venv\Scripts\activate # Windows

pip install -r requirements.txt
Next copy the .png images of the QR codes you want to check into the ./images folder. Add all the ones you have generated, without fear!
Run the script, you will get these results:
python check.py "https://www.felixsanz.dev"[cv2 pyzbar zxing] ./images/00218-2724904587.png [cv2 pyzbar zxing] ./images/00235-4081443668.png [cv2 pyzbar zxing] ./images/00159-2755401775.png [cv2 pyzbar zxing] ./images/00130-3223553027.png [cv2 pyzbar zxing] ./images/00029-3235345478.png
The library names appear in green or red depending on the library result. When an image shows all 3 libraries in green, it will be copied to the ./valid folder.
.venv
- check.py
images
- 00218-2724904587.png
- 00235-4081443668.png
- 00159-2755401775.png
- 00130-3223553027.png
- 00029-3235345478.png
- requirements.txt
valid
- 00235-4081443668.png
- 00130-3223553027.png
Conclusion
In this article we have seen the main problems with current methods of generating QR codes with Stable Diffusion, using two ControlNet models. We also looked at the technical details required to improve QR code compatibility.
And finally we have taken advantage of all this information to generate QR codes with Stable Diffusion using a single ControlNet model that does not destroy as much of the information encoded in the QR code.
With all this and the testing methods I hope you can generate many awesome and functional QR codes. Tap the emoji to celebrate!
Tag me on social media if you share these QR codes as I'll be happy to see them.
You can support me so that I can dedicate even more time to writing articles and have resources to create new projects. Thank you!